3D Printing
In this assignment, we had to learn how to print our own 3d model of a knight chess piece. This was where we also could find out more about how the revolve and extrude feature would work in a project.We first had to find and image to trace the model over as our sketch.
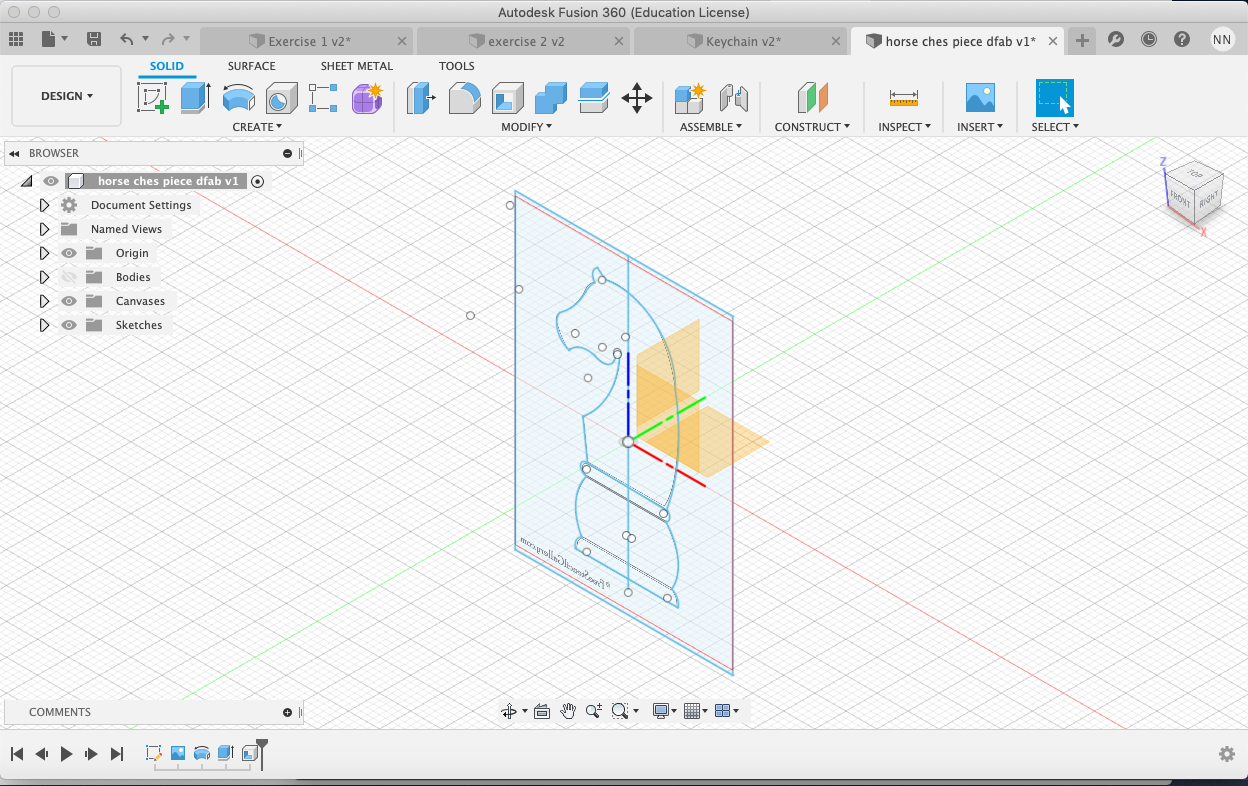
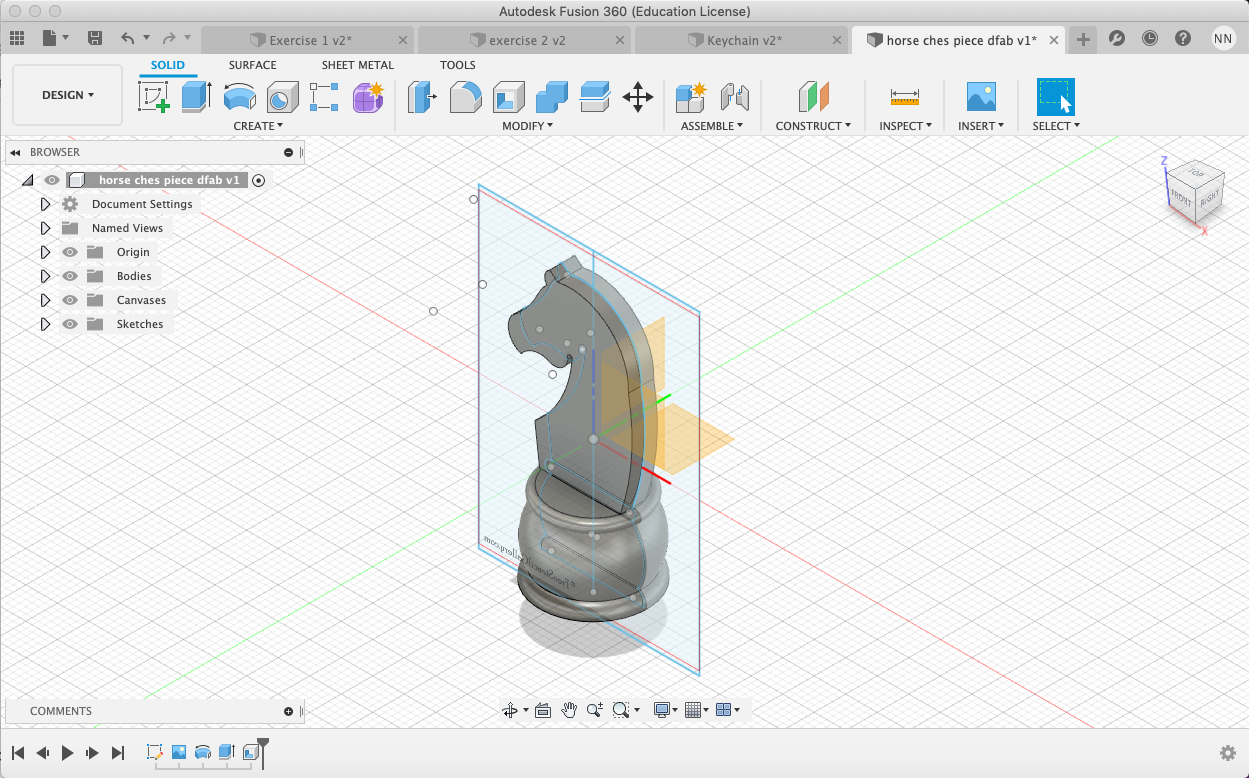
After sketching, I proceeded to do up the model.The base was achieve through using the revolve tool while the horse itself was done through extruding.I then had to export the file as an stl format in order to bring it over to cura to further customise on how I wanted the piece to be printed out.
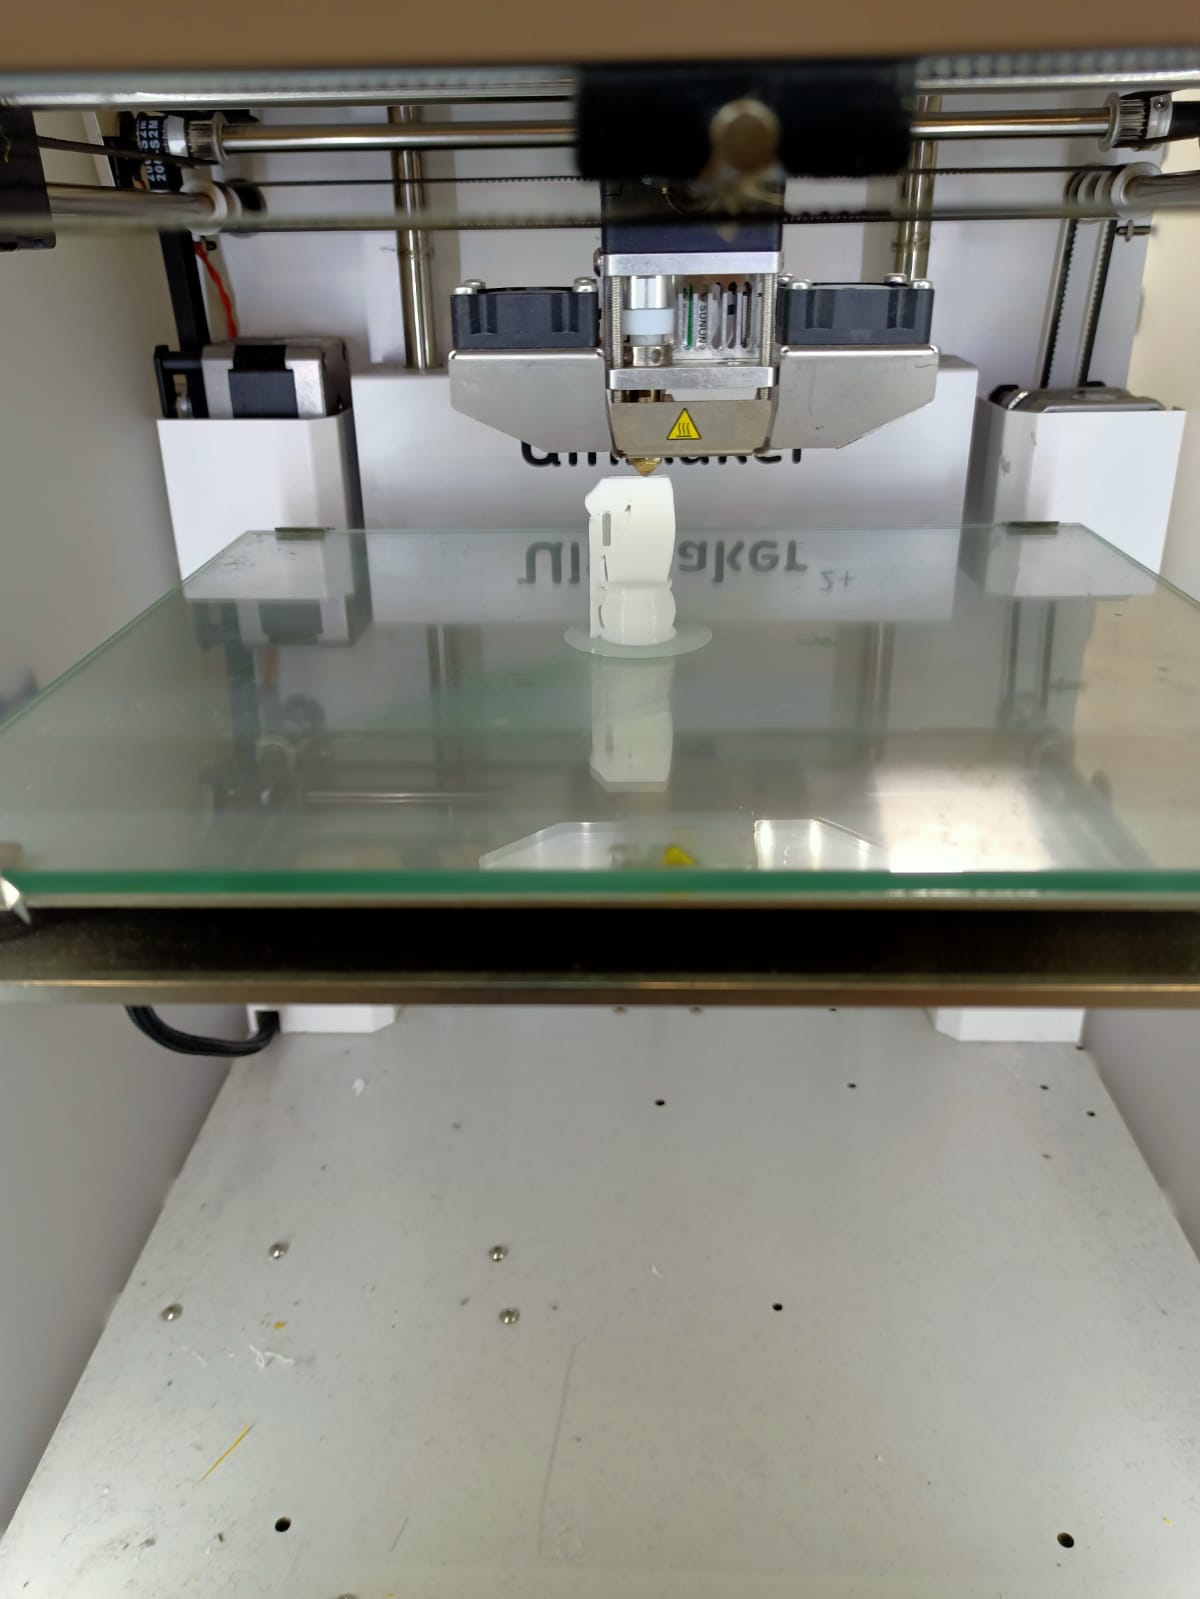
At cura, we had to set up 3 different setting and finalise the best one for printing. I experimented with the infill, wall thickness and supports.I notice that the spacing between the horse head and it's body had a gap, so I thought that it was the best to add in supports to ensure that it was sturdy and would not fall off easily after printing.
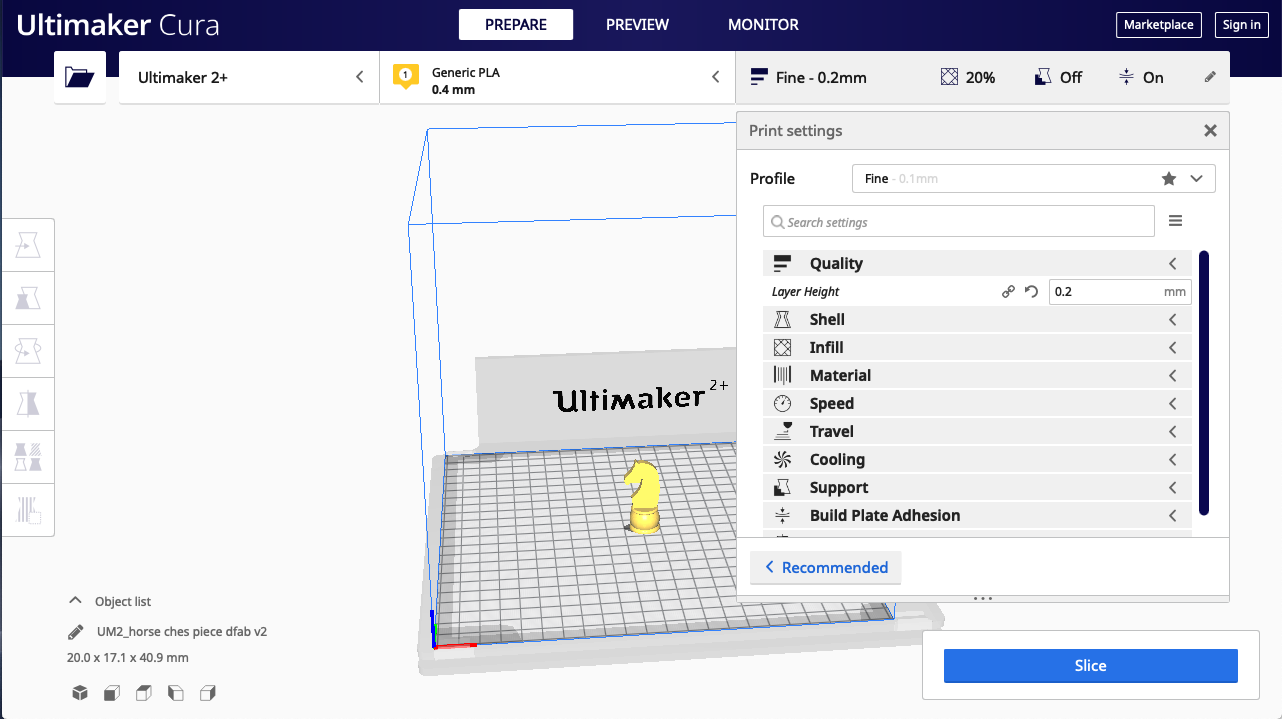
As it was printing out, I realised that a skirt would have been a better option as the current one I had made it stick to the bottom of the printer, something I could consider when doing any future projects.The model was also abit too small than expected but it took at least 30 minutes to print it.I suspected that it was because of the infill that I had set to 15% which took most of the timing filling the inside.
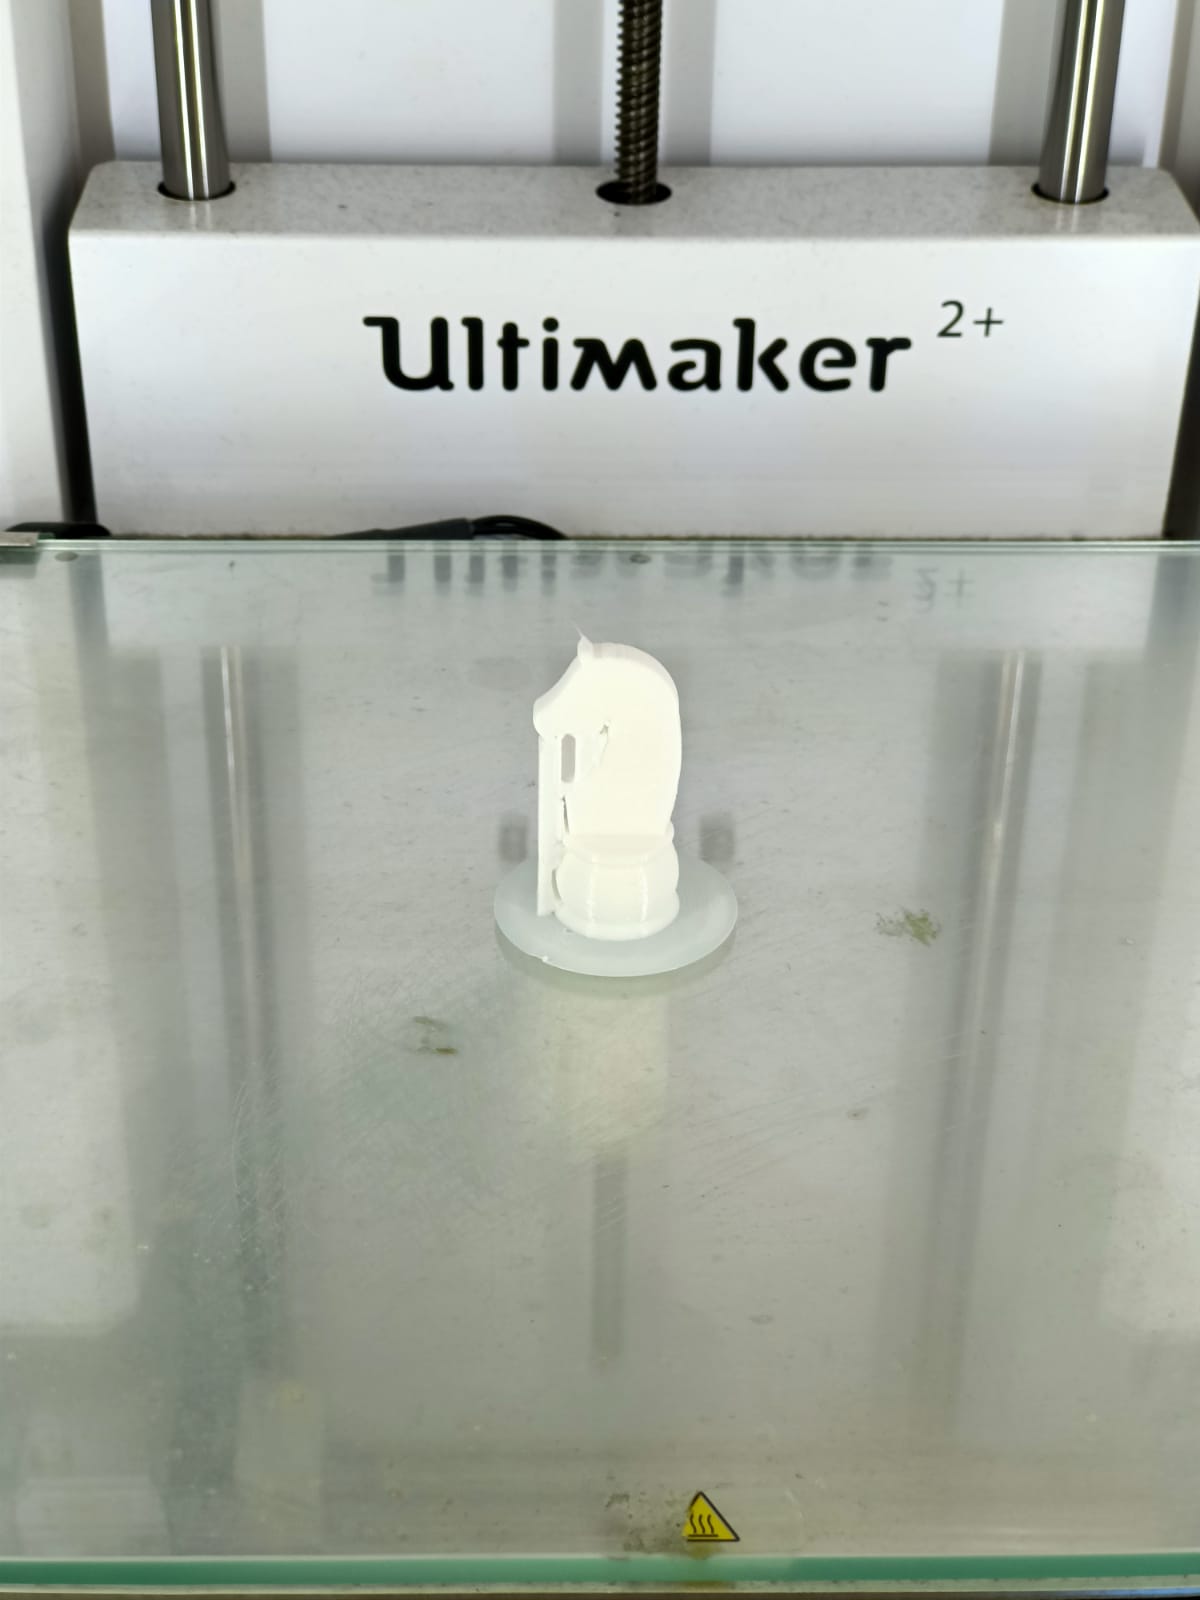
This was my finished result of my 3D printing

Creating model in Fusion 360
For this, we were tasked to explore more functions and features that were available on Fusion 360 so that we were able to start making our own creations and print them soon.
Firstly,we had to design our own name tag with specific measurement that was provided on the instruction page. I found this assignment to be generally okay for me as I was already familiar with the sketching process. As for turning it into a model, I had to refer to the video tutorial provided and learn about extruding which is the method of controlling the thickness of the model and how much would one would like to bring up.
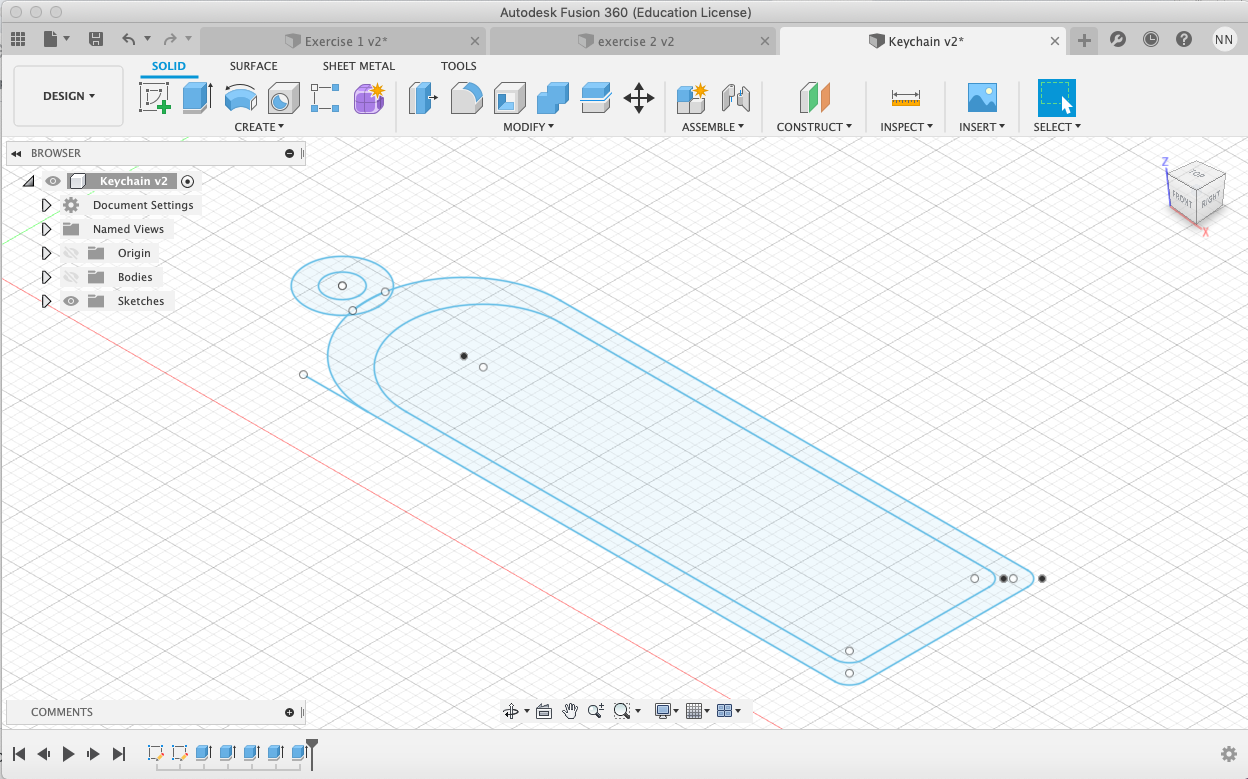
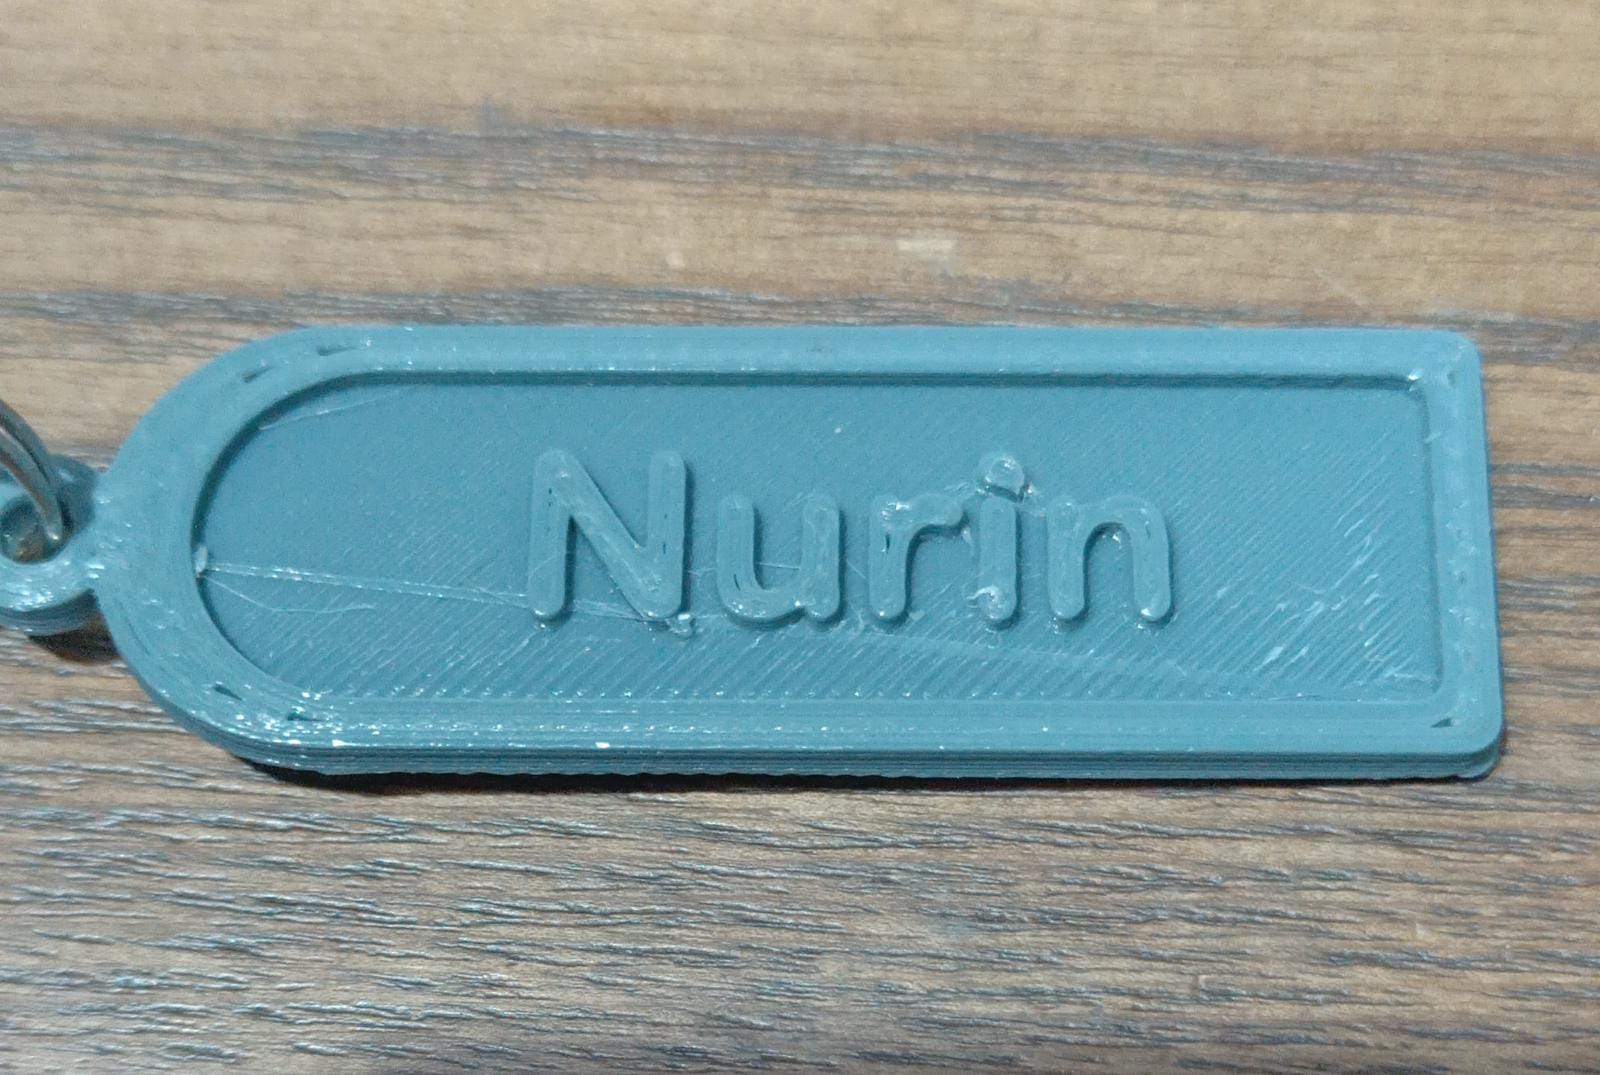
For my name tag, I made it into the rectangular shape with rounded sides.I made the base slightly thinner while the sides abit thicker to show the contrast of when I extrude my name and create that "3D effect".I faced abit of difficulty doing this as I soon realised I had placed the name layer below the base, hence it was covering the name. I then manage to get it after a few minutes,This was the results.
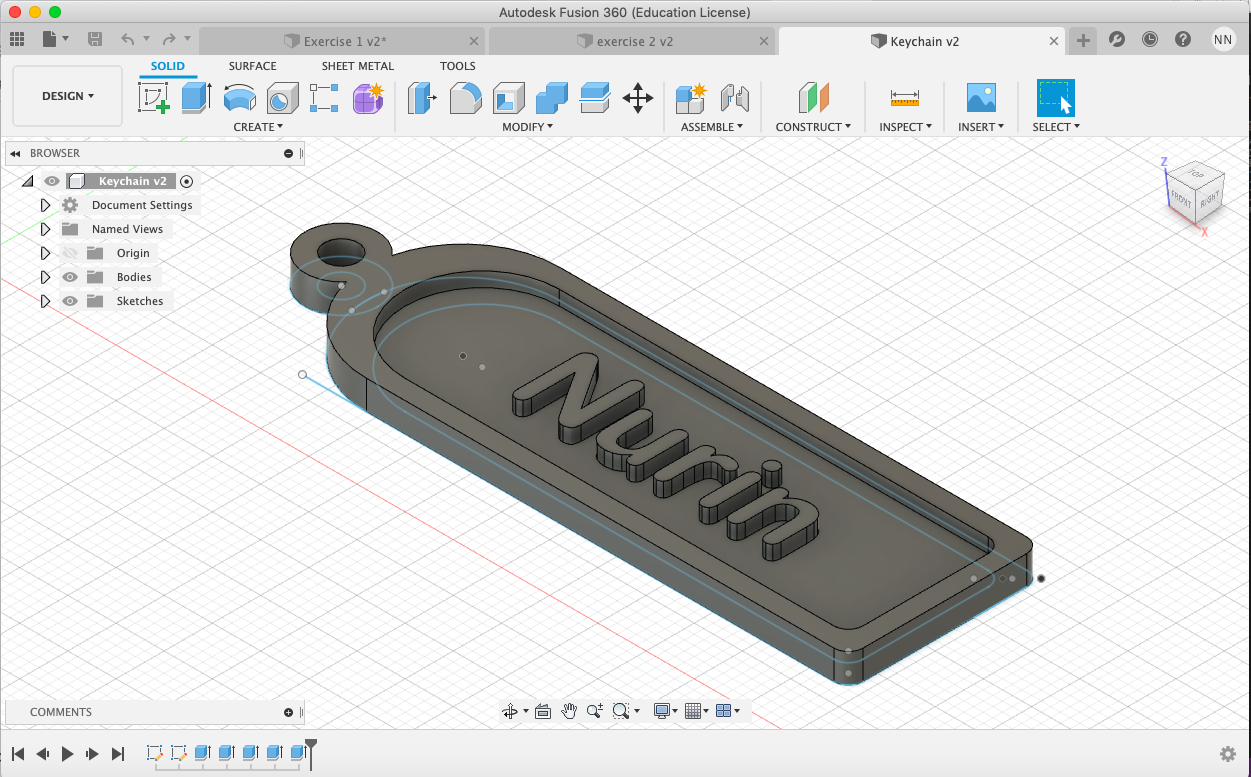
This was the final result of the keychain: